

How To Bend Rv Corner Trim
Seasonal weather can have its price on the exterior molding designed to protect your RV. A couple seasons of freezing snowfall and desert estrus can result in croaky trim that may let moisture to penetrate ceiling joints and wall panel edges. Read on for tips and photos to supercede vinyl trim insert.
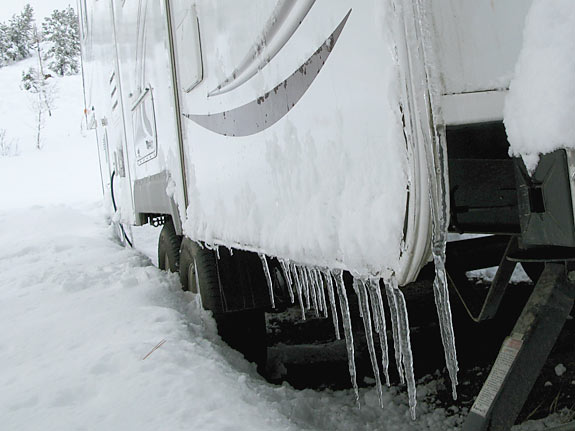
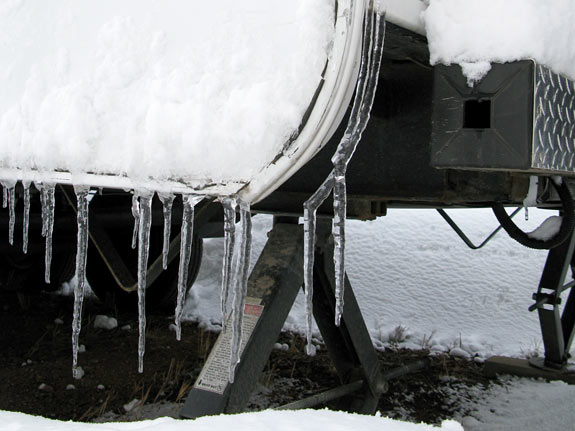
We've only had our 2010 Artic Fox most a year at present, but this Bound we noticed much of the vinyl weather strip protecting the panel edges was cracked and in need of replacement.
Replacing the molding was one of the easiest RV maintenance tasks I've washed to date. Finding the right replacement part was the only tricky part, since that required discovering the right term for the vinyl trim that inserts into the channel molding strips that wrap our fifth bicycle'due south wall panels and roof edges.
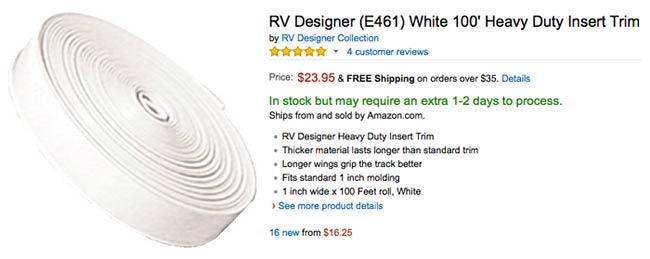
Non one to exist taken by some dealership for such an evidently easy job, I eventually plant the right 1″ RV Insert Trim on Amazon.
Replace Your RV Insert Trim in 5 Easy Steps
Follow these simple steps, with photos, to make an easy job out of replacing your RV'south outside vinyl molding.
1. Measure the molding and buy the correct vinyl trim.
 First, determine the width of your channel molding. Ours is one″ wide, which is very mutual. Side by side measure and add upward the full length of all the trim yous need to supervene upon. We purchased a 100′ roll of heavy duty white insert trim from the RV Designer Collection.
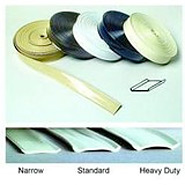
Yous may demand 3/4″ trim, or choose to select from diverse brands and colors of insert trim bachelor. I recommend using the Heavy Duty trim which is easier to handle and more likely to last longer.
I used more than half of the roll to replace all the trim that was clearly deteriorating, and now accept enough to complete the job when the rest of the trim begins to crack.
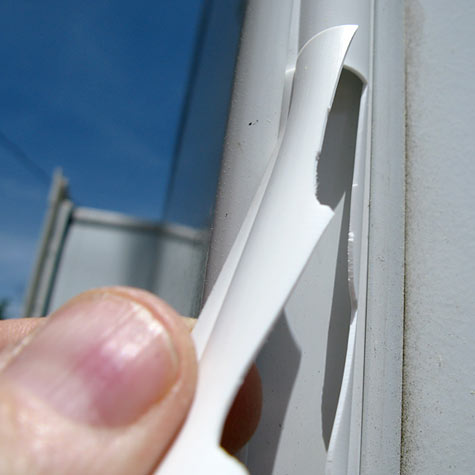
ii. Remove onetime insert trim.
Completely remove all croaky trim by running your finger forth the metal channel and pulling out the old vinyl. Remove any screws securing the trim ends and clean away whatever caulk or sealant plugging upwardly ends of channel molding. I used an quondam molar castor to ensure no debris remained inside the molding.
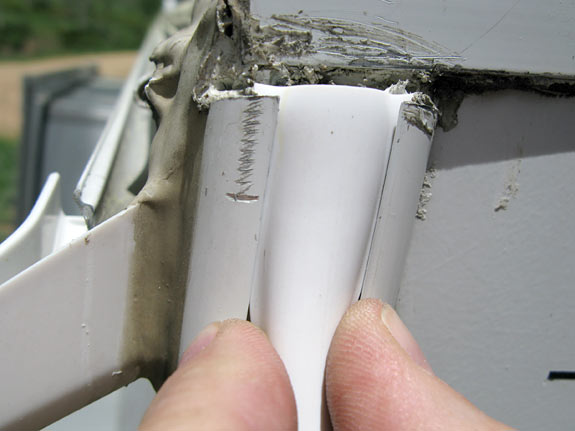
3. Replace new insert trim.
Place the gyre of trim on the footing and grab the stop in the center. Pull out and untwist a few feet of the trim then ascend ladder to begin inserting information technology at the tiptop.

Cut the end of the trim if it is non square. Grasp trim at end and compression it gently and then the flanges fit into the grooves in the channel molding. Insert the trim into the molding, squeezing it together every bit you go. Gently press the vinyl to smooth out whatsoever bumps and ensure it is seated firmly in the grooves.
4. Secure ends of trim.
When you reach the end of the molding, cut ends off the inserted trim leaving enough vinyl to secure with a new screw, if necessary. Remove any accumulation of road debris and dirty Sealant.
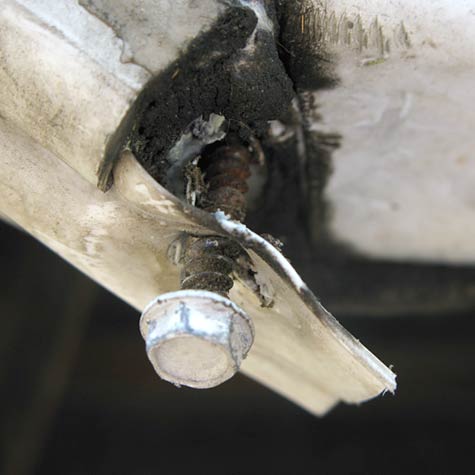
Merely supervene upon screws that yous removed. They should simply be necessary at the very top of the trim, or where it connects under the wall panel.
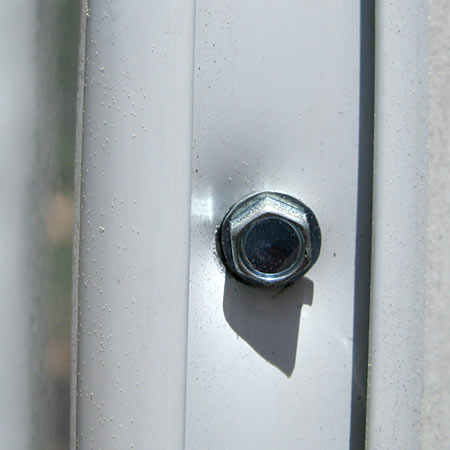
v. Seal ends and gaps.
Encompass the top end of the exposed trim with Dicor Lap Sealant to make a waterproof seal around any exposed edges. Add sealant effectually screws where trim connects nether the rig.
Check your RV trim periodically and replace the entire strip if yous notice it cracking to prevent further damage.
Did you observe this helpful?
Permit united states know with a comment, and subscribe below to be notified of new blog posts!
Source: https://liveworkdream.com/2015/07/08/rv-insert-trim/
0 Response to "How To Bend Rv Corner Trim"
Post a Comment